Tutorial: Get a Local TYPO3 v10 Installation With No Effort!
Thanks to Peter Kraume from bgm websolutions for sharing!
The release of TYPO3 v10 LTS is just a couple of weeks ahead and we want to give you the opportunity to test TYPO3 v10 with ease!
You should start playing around with TYPO3 v10 today and test all the new features. Don’t wait with your tests for the final release. Test today, give feedback, report bugs, test patches, and start making your extensions compatible with TYPO3 v10.
This week, I’m going to show you how to set up the TYPO3 v10 dev version on your own computers, and download and apply the latest patches. Next week, come back and I’ll show you how to download, apply, and test patches with Gerrit and report any bugs you find.
OK, so let’s get started with this tutorial.
- In Step 1, I’ll show you how to install all the requirements to run TYPO3 on your own computer.
- In Step 2, I’ll show you how to install TYPO3 v10.
- In Step 3, I want you to come back to your installation another day, and apply all the latest and greatest patches.
You’ll be done with the installation in just a couple of minutes. I promise! And I’ll show you where to get help at any point if you’re stuck.
Step 1: Install everything you need to run TYPO3 on your computer.
So what do you need for a quick and easy installation of TYPO3 v10? Here are the prerequisites for this tutorial
- Docker
- DDEV
- SSH Client
Do you meet all of these three requirements? You can skip the next step and jump directly to installing TYPO3 v10.
If you need to install the above mentioned software don’t worry, here’s how to do it.
What is DDEV?
As they say in the ddev documentation: “DDEV is an open source tool that makes it dead simple to get local PHP development environments up and running within minutes.”
Install Docker
Since DDEV is based on Docker, you need to install Docker on your machine first. Docker is available for all major operating systems.
- For macOS and Windows 10 there is Docker Desktop.
- If you’re running on Windows 10 Home, there is Docker Toolbox.
- Installation for Linux is also no big deal.
Here is a good documentation on how to install Docker.
Install DDEV
If you have Docker installed and running, you've already cleared one major hurdle!
Next, install ddev. For macOS/Linux users, I recommend downloading, installing, and upgrading via Homebrew/Linuxbrew:
brew tap drud/ddev && brew install ddev
For Windows users, I recommend downloading and installing via Chocolatey.
choco install ddev
The documentation on how to install ddev on your machine is also very comprehensive.
Troubleshooting the installation of Docker and DDEV
In case you run into any trouble during the installation of Docker and DDEV, please have a look at the troubleshooting section of the ddev documentation. If you can’t solve your problem there, please post your question to ddev StackOverflow. Make sure to tag your question with “ddev” and provide as many information about what you’ve tried so far as possible.
And I recommend the #ddev channel in TYPO3 Slack for interactive, immediate community support. The crowd there is extremely helpful!
SSH Client aka “Terminal”
If you work with macOS or Linux, your operating system already provides a terminal application. So you’re already ready to go.
Most people interact with ddev on Windows using git-bash, part of the Windows Git suite. Although ddev does work with other SSH clients, such as cmd and PowerShell, it's more at home in bash. You can install it with Chocolatey using this command:
choco install -y git
Step 2: Install TYPO3 v10 dev-master with DDEV
If you made it this far, the rest should be a breeze!
Now fire up your terminal and run these commands, which I will explain one by one, by showing you how I do it.
1. First of all I recommend that you create an empty directory somewhere on your local machine. For macOS and Linux users the home directory would be a good place. Browse to your home directory within the terminal, and run this command.
mkdir my-typo3-site && cd my-typo3-site
2. Next, start a new project. When you run the following command it does two things:
- The document root is set to “public” and the folder will be created automatically by ddev.
- Chooses the project type “typo3” and makes ddev to automatically create the file AdditionalConfiguration.php for you and populate it with the necessary database credentials for the installation of TYPO3.
ddev config --project-type=typo3 --docroot=public --create-docroot=true
3. After that, I start a new composer project. “dev-master” specifies that I want to use the latest bleeding edge version of TYPO3 from Git master branch. If I want to start a new project which is meant for production, I would use “^10.3”. Or later, when TYPO3 v10 LTS is released I’d go for “^10”.
ddev composer create typo3/cms-base-distribution:"dev-master" --prefer-dist
4. After the project is set up, I need to restart the ddev environment to make ddev recreate the AdditionalConfiguration.php which got deleted during the project creation.
ddev start
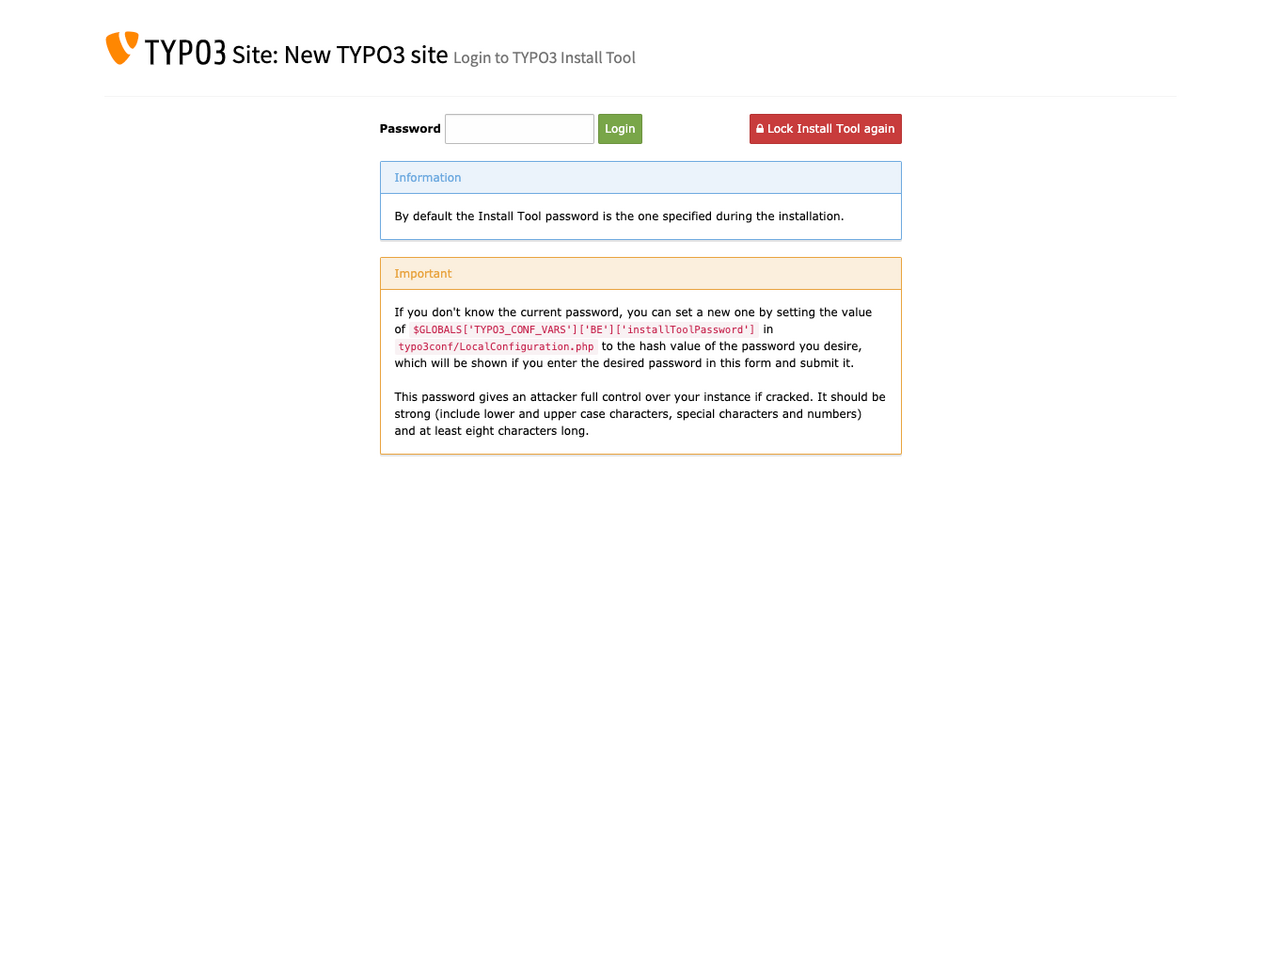
5. Here’s the last step on the shell: enable the TYPO3 installer wizard and let your default browser open the TYPO3 install tool.
touch public/FIRST_INSTALL && ddev launch typo3/install.php
6. The next steps in the Install Tool are pretty easy.
- Continue with the installation after the environment check
- Sset username and password for your TYPO3 backend user.
The last step is to decide whether you want an empty starting page or not. Then you can open the TYPO3 backend and start exploring all the great new features, e.g. the dashboard.
Try it out! Check out this article on the dashboard and some recent UX improvements to try out. Tell folks what you think. Share it on Twitter, shout about it from the rooftops!
Step 3: Update your TYPO3 v10 test installation to apply the latest patches
While TYPO3 v10 is in the feature freeze period, multiple bugs are fixed every day. Now, let’s say you’re coming back to your project a few days later, you’ll want to see the latest and greatest of the -dev version of TYPO3.
1. So let’s start up the project again in DDEV. Run this command
ddev start
2. To make sure you’re always on top of the pops, use this command:
ddev composer update
3. After that, you need to flush TYPO3 and PHP Cache:
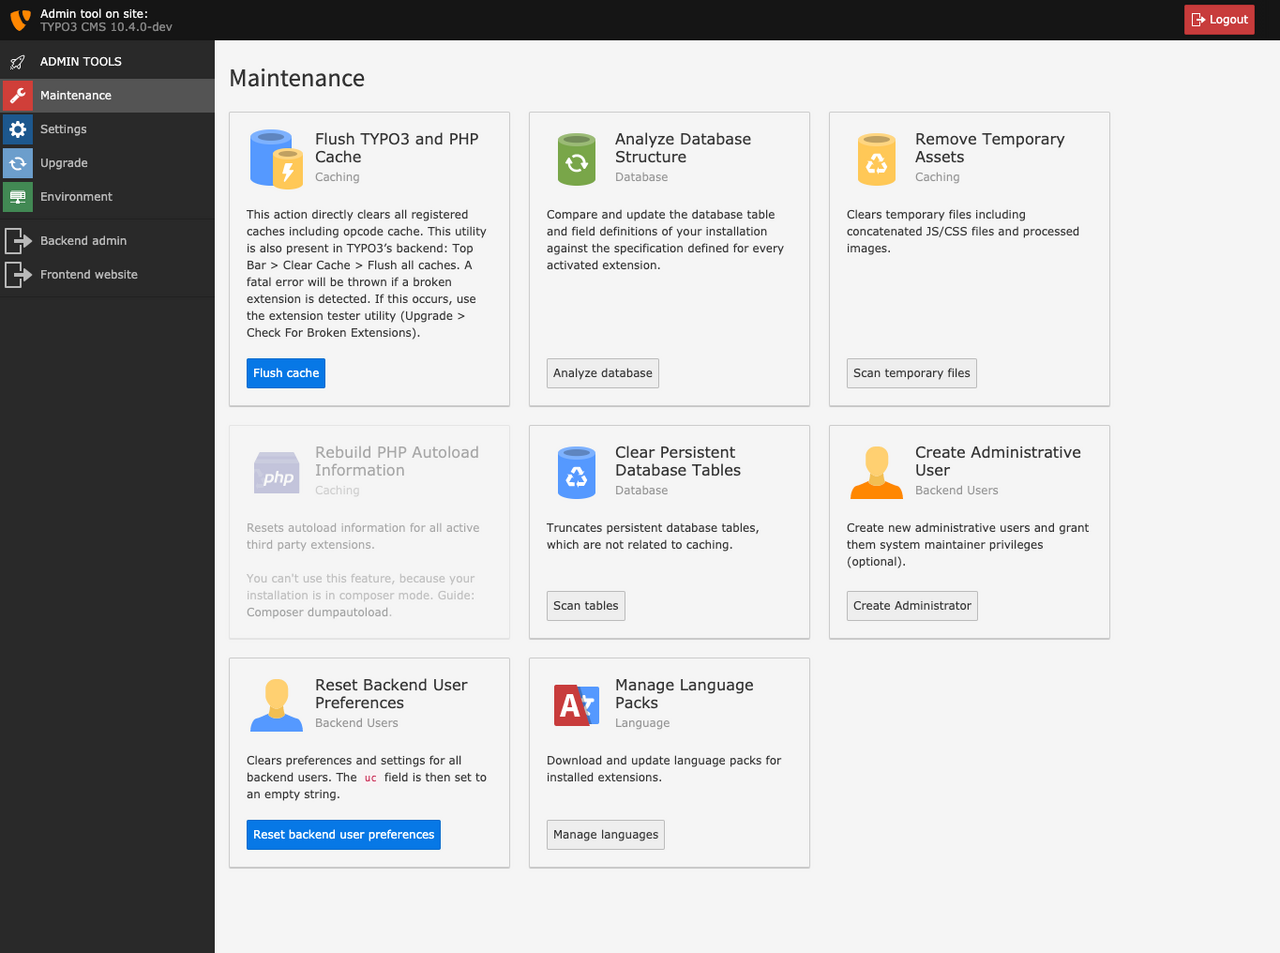
touch public/typo3conf/ENABLE_INSTALL_TOOL && ddev launch typo3/install.php
4. After opening the Admin Tool, just hit the “Flush Cache” button. This is especially necessary if your TYPO3 installation throws PHP errors after the update.
Step 4. Remove the DDEV project and its Docker containers
When you’re all done you can shut down all your DDEV projects, and you won’t lose any work. Your project files and installation remain intact. Run this command:
ddev poweroff
Or just stop this specific project with
ddev stop
Both commands won’t touch your files or the database data.
In case you want to delete your project, do this:
ddev delete -O
After that, you can safely delete the project folder “my-typo3-site”.
You’re ready to play!
I hope that this tutorial will give you a great start with TYPO3 v10. You’re now all set to start testing the developer version of TYPO3 v10. If you want to get an overview about all the changes and new features, please have a look here. If you encounter bugs, please report them!
Another thing you can do is search the TYPO3 Extension Repository for v10 compatible extensions that are already available. Install them and test them. The extension maintainers love to hear your feedback as well to ensure a smooth start with v10 for everybody.
Did you like this tutorial? Was it easy to understand? Please provide feedback if you think something is missing or unclear in this article.
Keep an eye out for the next part, where I will explain how to report bugs and how to test patches in your fresh installation.


